What Is the Best Measuring Microscope in 2026?
Choosing the best Measuring Microscope in 2026 depends on the work it must perform, not just its magnification. A small engraved scale, a polished metal edge, and a soft-focus image each reveal different limits. The right instrument should make those details measurable and repeatable.
Measurement pioneer Lord Kelvin wrote, “When you can measure what you are speaking about, and express it in numbers, you know something about it.” He was not describing today’s optical instruments, but his point still matters. A clear image is useful; a dependable result is better. Look closely at measuring range, resolution, stage movement, illumination, and software. These features affect whether an instrument suits routine inspection or demanding dimensional work.
Specifications need context. A high-resolution camera cannot correct poor calibration or unstable handling. Nor does a long feature list prove that a microscope fits a particular workshop. Ask how measurements are verified, whether operators can repeat them, and how the system handles real parts—not only sample images. Small details matter. A cramped control layout can slow inspection; uneven lighting can hide an edge. This guide compares the practical strengths and limitations of leading options for 2026. There may be no single winner. The best choice is the one whose documented performance matches your parts, tolerance needs, and daily workflow. Even careful comparisons leave room for judgment. That is worth admitting.
What a Measuring Microscope Does and Where It Is Used
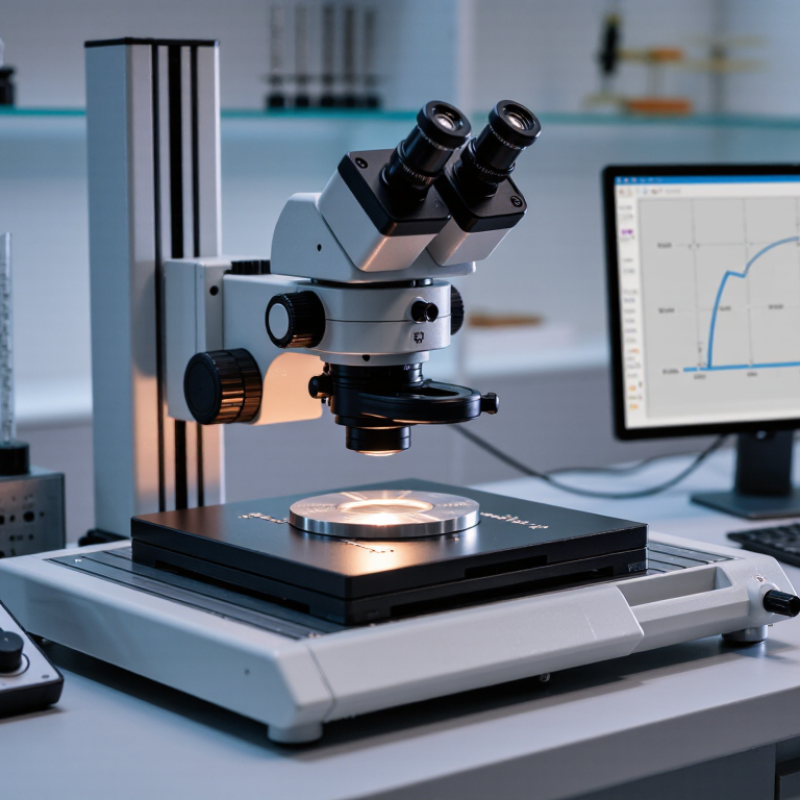
A measuring microscope combines magnification with calibrated movement to measure small features without touching the part. An operator places a component on the stage, aligns its edge with a reticle or digital crosshair, and reads distances, angles, or hole spacing. It is useful when a caliper obscures a tiny edge or risks bending a delicate sample. Small details matter.
In machine shops, technicians inspect tool profiles, slots, and thread forms. Electronics teams check connector pitch and circuit features; medical-device manufacturers may inspect miniature components. The instrument supports repeatable dimensional checks, but results depend on lighting, focus, calibration, and operator technique. Deloitte’s 2024 Smart Manufacturing Survey found that 86% of surveyed manufacturing executives viewed smart manufacturing as a key competitiveness driver over the next five years. That figure reflects a broader push for connected measurement, not a guarantee that digital microscopes improve every inspection.
Tips: Clean the stage and part first. Use consistent illumination, then focus before measuring. Record the magnification, calibration status, and measurement method alongside results. A shiny edge can appear wider under glare; I would recheck it with changed lighting rather than trust one reading. For traceable inspection, follow the applicable calibration procedure and document uncertainty.
How Measuring Microscopes Capture and Calculate Dimensions
A measuring microscope captures dimensions by combining magnified images with calibrated stage movement. The operator places a part on the stage, focuses its edge, and aligns the feature with a reference point. Encoders record how far the stage moves between selected points. That distance becomes a measured length, not merely an estimate from the image.
Camera-based systems use a different route. Software maps image pixels to known units, then identifies edges or points for calculation. Calibration should use a suitable reference scale, and it should be checked again when magnification or setup changes. Small errors accumulate. Dust, glare, poor focus, and a tilted sample can shift an apparent edge by several pixels. I would not trust a neat digital readout without checking how the system finds that edge. Some boundaries are simply ambiguous.
For dependable results in 2026, compare measurement range, resolution, calibration procedures, and repeatability under real working conditions. A microscope with a sharp image is not automatically the most accurate. Try a representative part, measure it repeatedly, and compare results with a known reference. The best choice depends on the dimensions, tolerances, and operator workflow. Even then, uncertainty deserves a place in the record.
Which Types Suit Different Inspection Tasks
A measuring microscope should match the feature being inspected, not just offer the highest magnification. For flat parts, printed scales, or small machined edges, an optical measuring microscope with a calibrated stage can provide clear images and repeatable readings. A crosshair helps locate a hole center; a stable stage matters when measuring several points.
When dimensions need to be recorded quickly, a digital measuring microscope can display measurements on screen and save images for later review. Video systems are useful for comparing profiles or inspecting batches of similar components. Their software can speed up routine checks, but poor lighting or an incorrectly set edge threshold can shift a result. Check the setup with a known reference.
For tiny surface details, a stereo microscope gives depth and a comfortable view, though it may be less suitable for precise two-dimensional measurements. That trade-off matters. I would choose a system based on the smallest feature, required tolerance, sample shape, and operator experience. A versatile model can still disappoint if its working distance is too short or its stage is awkward. Test representative parts before deciding; one difficult sample often reveals more than a specification sheet.
What Is the Best Measuring Microscope in 2026?
Which types suit different inspection tasks? Compare the typical number of dimensional axes each type can measure.
Toolmaker’s and stereo microscopes are commonly used for calibrated X–Y measurements of edges and small features. Video measuring microscopes typically measure X–Y and may provide Z measurement through focus or other options. Confocal microscopes capture X–Y–Z surface data, making them useful for height, step, and surface-profile inspection. Actual capabilities depend on configuration; this chart shows typical measurement axes, not accuracy rankings.
What Features Matter Most When Comparing 2026 Models
A useful measuring microscope should match the parts you inspect, not simply offer the highest magnification. Compare optical resolution, measurement range, and repeatability at the magnifications you actually use. A crisp image matters, but it cannot compensate for a stage that drifts or software that rounds measurements too aggressively. Small details matter.
Check the stage’s travel and loading capacity against your largest typical component. Then test whether fine adjustments feel controlled, especially when measuring a narrow edge or small hole. Ask how the system handles calibration and whether its records are easy to review. Good software should make measurements traceable and export data in a format your team can use. Not always.
Lighting deserves a hands-on check. Ring illumination can reveal surface features, while coaxial light may help show flat, reflective faces; neither suits every sample. Try a real part, including one with a rough edge or low contrast. Also consider focus controls, viewing posture, and setup time. A practical bench test can reveal more than a polished specification sheet. I would not pretend there is one universal winner: a fast, comfortable instrument may be a better fit than a more capable model that requires constant adjustment. Calibration intervals and operator training also affect dependable results, though these are easy to overlook during a purchase.
How to Choose the Best Measuring Microscope for Your Needs
What Is the Best Measuring Microscope in 2026?
How to Choose the Best Measuring Microscope for Your Needs
The best measuring microscope is the one that fits your parts, tolerances, and daily workflow. Start with the smallest feature you need to measure, not the highest advertised magnification. A crisp image matters, but so do repeatable readings. Check the instrument’s measuring range, stage travel, resolution, and stated accuracy. These are different specifications. A microscope may show tiny details yet struggle to measure a larger component in one setup. Consider the workpiece, too: reflective metal, transparent plastic, and textured surfaces can require different lighting. Even a sharp image can mislead.
Tips: Bring a representative part and a drawing with tolerances when comparing systems. Ask how calibration is performed and whether the measurement software supports your usual dimensions. Test the setup more than once. Small handling differences can affect results.
Think about who will use the instrument and where it will sit. A compact system may suit a crowded inspection bench; a larger stage may be essential for long parts. Check that operators can focus, position the sample, and export results without awkward steps. If measurements need to be documented, confirm that the software records units and results clearly. I would not choose from a specification sheet alone. In practice, a short demonstration can reveal inconvenient controls or difficult lighting—details that are easy to overlook, and sometimes I do.



 08045479132




 Send Inquiry


 Send Inquiry
 Send SMS