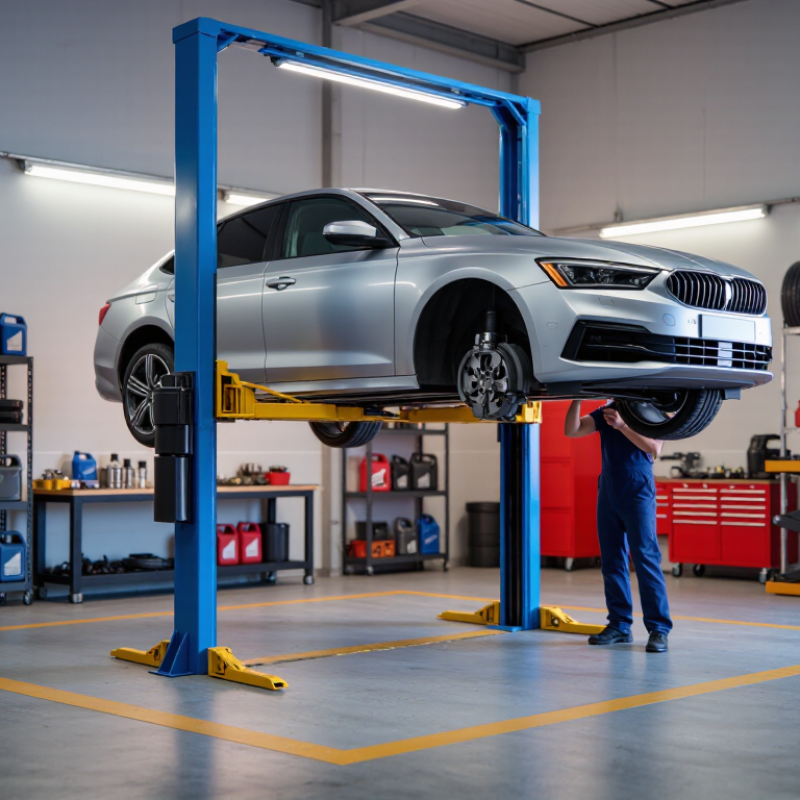
| Car garage lift | A powered or manually operated device that raises a vehicle for inspection, repair, or storage. | Designed lifting points, load-bearing arms or platforms, and a stated maximum capacity. | Use the lift only for vehicles and purposes permitted by its manufacturer. |
| Rated capacity | The maximum load the lift is designed to raise under specified conditions. | Capacity marking and documentation identify the lift’s load limit. | Check the vehicle’s weight and account for any load distribution restrictions. Never exceed the lift’s rated capacity. |
| Lifting points and adapters | Vehicle-specific locations where lift pads or platforms contact the vehicle. | Correctly positioned pads and approved adapters help prevent slipping or vehicle damage. | Consult the vehicle and lift instructions. Confirm every contact point is stable before raising. |
| Mechanical safety locks | Locking devices that support the lift at selected heights if hydraulic pressure is lost. | Locks engage at designated positions and provide support independent of the hydraulic system. | Follow the lift’s instructions for engaging and lowering onto the locks. Do not rely on hydraulic pressure alone while working underneath. |
| Lift controls and emergency stop | Controls operate raising and lowering; some models include an emergency stop. | Clearly identified controls and accessible stopping functions help the operator respond to unsafe movement. | Keep the control area clear and ensure the operator can see the vehicle and people nearby. |
| Installation surface | The floor and foundation must support the lift, vehicle, and operating forces. | Installation requirements specify conditions such as concrete strength, thickness, and anchoring where applicable. | Use the manufacturer’s installation specifications and have the site assessed if floor suitability is uncertain. Do not install on an unsuitable or damaged surface. |
| Pre-use inspection | A check of the lift and work area before operation. | Inspection can identify visible damage, leaks, loose components, or obstructions. | Check cables, hoses, arms, pads, locks, controls, and the surrounding area. Do not use a lift with a suspected defect until it has been evaluated and repaired. |
| Raising the vehicle | The controlled movement of the vehicle from the floor to a working height. | Balanced positioning and secure contact reduce the risk of movement or instability. | Clear people and tools from the area, raise the vehicle slightly, pause to verify stability, then continue only if it remains correctly positioned. |
| Working beneath a raised vehicle | Accessing the underside after the vehicle has been lifted. | Mechanical locks provide a supporting safeguard when properly engaged. | Lower the lift onto its locks as directed before going underneath. Never work beneath a vehicle supported only by a jack or hydraulic pressure. |
| Lowering the vehicle | Returning the vehicle safely to the floor. | Audible or visual warnings may be fitted to some lifts to alert people during lowering. | Check that everyone and all equipment are clear. Disengage locks and lower smoothly according to the lift’s operating instructions. |
| Maintenance and service | Routine care and repair needed to keep the lift in safe working condition. | Manufacturer-specified inspections and service procedures help identify wear or malfunction. | Keep service records and have repairs performed by qualified personnel. Remove a defective lift from service until repaired and checked. |
| Operator training | Instruction in the lift’s controls, hazards, and safe operating procedures. | Training helps operators recognize unstable loads, pinch points, and other hazards. | Operators should read the applicable instructions and receive practical training before using the lift. |



 08045479132

 Send Inquiry


 Send Inquiry
 Send SMS