| 1. Identify the task | Decide whether you need broad area lighting or a focused beam for close-up work. | Choose a wider beam for work areas and a focused or adjustable beam for inspection and repair tasks. | Beam pattern, brightness settings, and whether the light can be aimed precisely. |
| 2. Estimate the required brightness | Consider the size of the work surface, distance from the light, and amount of ambient light. | For reference, general workshop tasks often use about 300–500 lux, while detailed tasks may need 750–1,000 lux or more at the work surface. | Look for a lumen rating and, where available, illuminance information at a stated distance. Measure light at the task area when accuracy matters. |
| 3. Match the environment | Check for dust, water spray, humidity, and outdoor exposure. | An IP54-rated enclosure offers limited dust ingress protection and protection from water splashes. IP65-rated products are dust-tight and protected against water jets. | Confirm the IP rating suits the expected exposure; a rating does not automatically mean a light can be submerged. |
| 4. Choose a useful color quality | Determine whether accurate color recognition is important for the job. | A CRI of 80 or higher is a common general-purpose choice. A CRI of 90 or higher can be useful for color-sensitive inspection or finishing work. | Check the stated CRI and test the light on the materials you work with when color matching is important. |
| 5. Select a comfortable color temperature | Consider the appearance of the light and how long you work under it. | Neutral white around 4,000–5,000 K is a practical range for many workshop tasks. The best choice depends on personal preference and the surrounding lighting. | Check the color temperature rating and avoid mixing very different light colors if consistent visibility matters. |
| 6. Plan for runtime and power | Estimate how many hours the light will be used between charging opportunities. | Battery runtime generally decreases at higher brightness settings. A corded option may suit a fixed workstation, while a rechargeable model offers more mobility. | Review runtime at each output level, charging time, battery replacement options, and any low-battery indicator. |
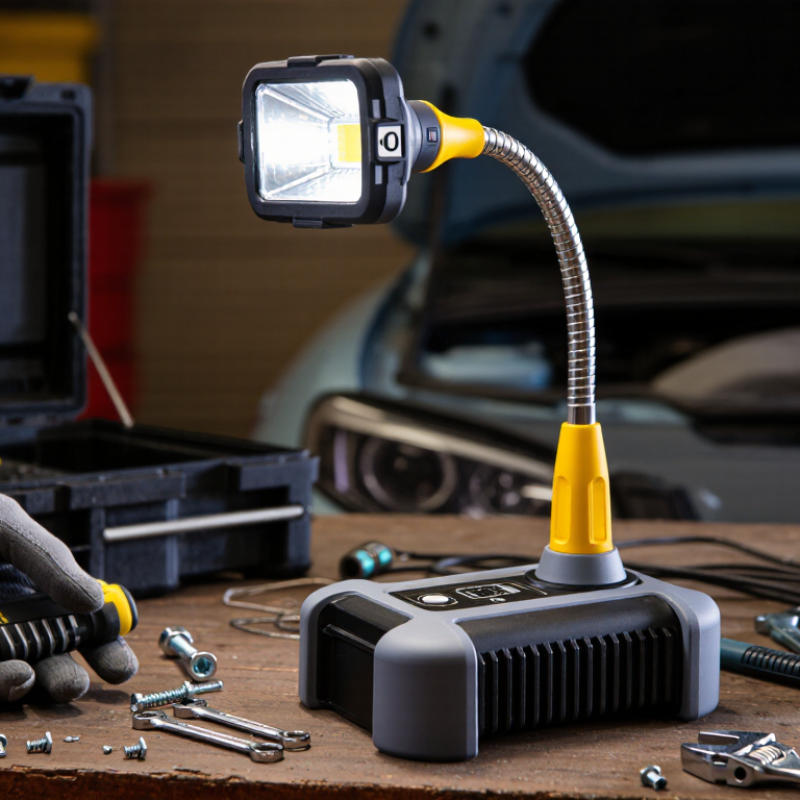
| 7. Check flexibility and reach | Consider whether the light must reach into cabinets, machinery, or narrow spaces. | A swivel head, adjustable arm, or flexible neck can help direct light around obstacles and reduce unwanted shadows. | Check the adjustment range, stability in position, and whether the design can be placed safely in the intended space. |
| 8. Choose a secure mounting method | Decide whether the light needs to stand, hang, attach to metal, or mount to a surface. | A stable base works well on benches; hooks, clamps, or magnetic mounts can be useful when suitable attachment points are available. | Verify the mounting method, base stability, magnet strength where specified, and safe load limits for clamps or hooks. |
| 9. Reduce glare and shadows | Notice reflections from shiny surfaces and shadows cast by your hands or tools. | Position the light to illuminate the task from the side or from more than one direction when practical. Diffused output can help soften harsh shadows. | Look for adjustable positioning or diffusion, and test the light from the normal working position. |
| 10. Consider durability and handling | Assess how often the light will be moved and whether it may experience knocks or vibration. | A robust housing and a secure grip can be valuable in mobile work. Follow the product’s operating and storage temperature limits. | Check impact-resistance information if provided, cable or charging-port protection, weight, grip, and warranty terms. |



 08045479132

 Send Inquiry


 Send Inquiry
 Send SMS