10 PLA 3D Printing Tips for Perfect Results
Pla 3d Printing looks simple, but reliable results depend on small decisions made before the first layer appears. A clean nozzle, dry filament, level build plate, and suitable cooling settings can change a rough surface into a crisp, usable part. The first layer matters most. Watch it closely. It should press gently against the plate without spreading into a thin, uneven smear.
Josef Průša, founder of Prusa Research, has often expressed a practical view of the technology: “3D printing is a tool, not a magic wand.” That idea guides this collection of ten PLA 3D Printing tips. Each recommendation connects a visible printing problem with a controllable cause, including stringing, warping, weak layers, poor adhesion, and inaccurate dimensions. The advice reflects common workshop experience, manufacturer guidance, and repeatable testing rather than isolated success.
PLA is forgiving, but it is not perfect. A filament spool may look dry while still producing brittle layers or tiny bubbles. A popular temperature setting may fail on another printer. Even a carefully tuned profile can need adjustment after a nozzle change. That is normal. Measure, observe, and record the result.
You may still encounter a failed print.
Use it as evidence. A small temperature tower, slower outer wall, or modest retraction change can reveal more than guessing. These practical steps help makers improve print quality, reduce wasted material, and build dependable habits without treating any single setting as universal.
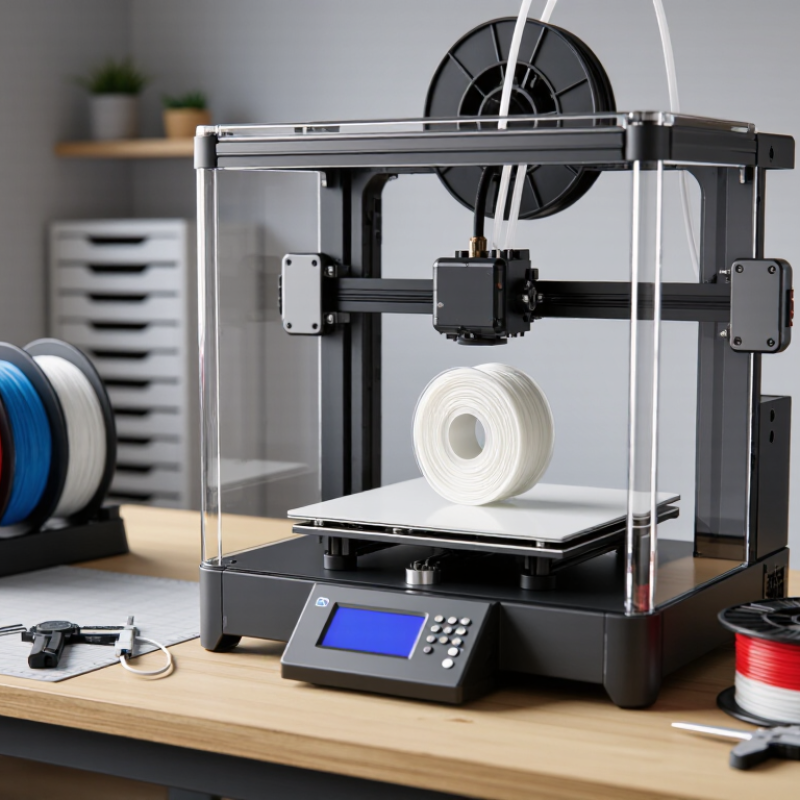
Choosing the Right PLA Filament and Preparing the Printer
Good PLA starts with consistent filament. Choose a spool with a published diameter tolerance, usually near ±0.05 mm. Inspect it for dust, flattened sections, or brittle bends. Moisture can cause popping, rough walls, and weak layer bonds. Store opened filament in a sealed container with fresh desiccant. Keep it simple. If the filament feels damp, dry it at a conservative temperature recommended for that material.
Color and additives can change flow, so use the supplier’s temperature range as a starting point. I normally print a small temperature tower, then inspect bridges, corners, and surface sheen. That test costs little and prevents a large failed print. Printer preparation matters more than many new users expect. Clear the nozzle while it is warm, but handle hot parts carefully. Remove old residue from the build plate with a suitable cleaner, then let it dry fully.
Check that the bed is level and the gantry moves without wobble. Run a slow first layer. A slightly wide, even line should grip the surface without looking crushed. Use moderate cooling after the first layers, especially around sharp corners. Too much airflow can weaken adhesion. Before longer prints, verify the nozzle diameter, extrusion multiplier, and bed temperature in your slicer. PLA often prints reliably around 190–220°C, but the correct value depends on formulation and airflow. Do not trust a preset blindly. I once blamed poor filament for gaps caused by a partially blocked nozzle. That mistake taught me to change one setting at a time and record results. Keep notes.
10 PLA 3D Printing Tips for Perfect Results
Choosing the right PLA filament and preparing the printer begins with stable, practical starting settings.
The chart shows common starting values for standard PLA: a 0.20 mm layer height, approximately 205°C nozzle temperature, approximately 55°C build-plate temperature, 50 mm/s print speed, and full cooling after the first layers. These values should be fine-tuned according to the filament specifications, printer design, layer adhesion, and visible print quality.
Optimizing Slicing Parameters for Accurate PLA Prints
10 PLA 3D Printing Tips for Perfect Results
Optimizing Slicing Parameters for Accurate PLA Prints
Accurate PLA printing starts with measured slicing choices, not maximum speed. In my test prints, a 0.16–0.20 mm layer height balanced detail and printing time. Smaller layers improved curved surfaces, but they also exposed vibration and poor leveling. I usually set three walls for functional parts. A 0.42 mm line width often produced consistent edges with a 0.4 mm nozzle.
Temperature needs calibration. I print a small temperature tower before using an unfamiliar spool. Excess heat can soften corners and create thin strings. Too little heat may weaken layer bonding. Cooling should become strong after the first few layers, while the initial layer needs enough adhesion and time.
Slow down for accuracy. Outer walls around 30–45 mm/s usually gave cleaner dimensions in my workshop. Infill can run faster, but sudden speed changes may cause uneven surfaces. I also adjust retraction carefully, since excessive retraction can create gaps. A three-layer brim helps tall parts, especially on a cool or drafty surface. The first layer deserves close attention. A slightly compressed line is useful, but over-compression creates an unwanted “elephant foot.” I still occasionally overlook seam placement and sacrifice a visible face. That mistake reminds me to preview every layer before printing. Perfect profiles are a useful myth. Each spool, room, and machine can require a small correction.



 08045479132
 Send Inquiry

 Send Inquiry
 Send SMS