How to Choose a Cell Culture Microscope?
Choosing a Cell Culture Microscope is less about buying the most advanced instrument. It is about matching imaging performance to daily laboratory decisions. A microscope should reveal cell shape, confluence, attachment, contamination, and growth changes clearly. It must also fit the culture vessels, workflow, and available space.
In practice, laboratory teams often begin with inverted microscopes for observing cells in flasks, plates, and dishes. Phase contrast can make transparent cells visible without staining. Fluorescence adds useful information about markers, viability, or protein expression. However, fluorescence systems may increase cost, maintenance needs, and phototoxicity risks. Magnification alone is not enough. Working distance, numerical aperture, illumination stability, and camera performance can affect results more than impressive specifications.
A reliable choice also considers operator comfort and routine consistency. Smooth stage controls matter during long observation sessions. A stable focus system helps when comparing images across several days. Sealed or easy-to-clean components can reduce workflow interruptions. Incubated systems support time-lapse studies, but they require careful control of temperature, humidity, and carbon dioxide. Small details matter.
There is no perfect model.
Before comparing brands, define the experiments, sample formats, imaging frequency, and documentation requirements. Check whether the manufacturer provides application guidance, calibration support, training, and responsive service. A lower-priced microscope may be sensible for basic morphology, while advanced live-cell research may justify automation and environmental control. Still, expensive equipment cannot correct poor sample preparation or inconsistent technique. The best decision remains practical, evidence-based, and open to revision as the laboratory’s needs change.
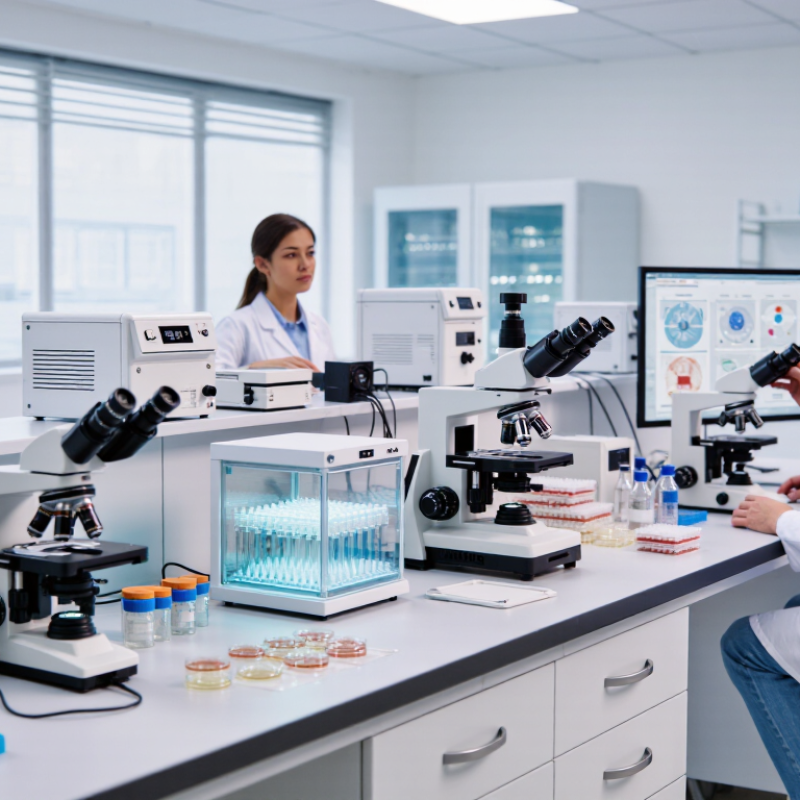
Define the Imaging Goals for Your Cell Culture Work
Choosing a cell culture microscope starts with a precise imaging goal, not a fashionable specification. Ask what decision each image must support: confluence measurement, morphology checks, contamination screening, or live-cell tracking. In my lab experience, this question prevents expensive features from replacing useful observations. A microscope for routine confluence may need stable transmitted illumination and reliable software. Tracking cell migration demands time-lapse control, gentle environmental regulation, and repeatable focus. Define the sample first. Then define the evidence.
Consider whether cells remain alive during imaging. Brightfield can reveal attachment, spreading, and debris without labels. Fluorescence can expose selected structures, but light exposure may stress sensitive cultures. If fluorescence is essential, specify channels, exposure limits, and the smallest feature you must resolve. For three-dimensional cultures, depth and optical sectioning become important. Do not assume higher magnification solves everything. It may simply show a smaller field and fewer cells. Test representative plates, including uneven cultures and mildly overgrown wells. Those are often more honest than perfect images.
Tips: Write a one-page imaging plan. Record sample type, culture vessel, required resolution, imaging frequency, and acceptable phototoxicity. Ask an experienced operator to review it. Leave room for revision. My own early plans were too optimistic about focus stability. A short pilot can reveal stage drift, condensation, or poor contrast before a full experiment. Keep original files and acquisition settings together. This practice supports traceability and makes later comparisons defensible.
Match Microscope Types to Cells, Samples, and Applications
How to Choose a Cell Culture Microscope?
Choose the microscope according to the cells, sample, and question. Brightfield works well for stained cells, fixed samples, and basic morphology checks. Phase contrast is often better for living, unstained cells in flasks or plates. It reveals attachment, spreading, and confluence without adding dyes. However, phase contrast can create halos around dense cells. That effect may confuse inexperienced users.
Fluorescence microscopy suits applications that require specific proteins, organelles, or viability markers. It provides strong contrast, but repeated exposure can cause phototoxicity and fading. For thick organoids, spheroids, or tissue-like samples, optical sectioning becomes more important. A confocal system can capture images through different depths. It may be unnecessary for a flat monolayer. An inverted microscope usually offers easier access to culture vessels and reduces handling during observation.
Check the working distance before choosing objectives. Tall plates, plastic lids, and thick-bottom vessels can limit access. Numerical aperture affects resolution, while an environmental chamber supports temperature and gas control during long observations. Test the microscope with your actual vessel, medium, and cell density. This practical step is often skipped. It should not be. Camera sensitivity, focus stability, and image software also influence results. No setup is perfect, and a costly system cannot correct poor sample preparation. Record exposure settings and include suitable controls, especially when comparing cell morphology over time.
Compare Optical Features, Magnification, and Environmental Control
How to Choose a Cell Culture Microscope?
Choosing a cell culture microscope starts with the cells, not the specification sheet. I have found that phase contrast is practical for observing unstained cells, especially when checking confluence or attachment. DIC can reveal sharper edges and subtle surface details, but it often requires more alignment and operator experience. Fluorescence is valuable for labeled structures, although photobleaching can limit repeated observations. A bright, even illumination path matters more than impressive marketing numbers.
Magnification should match the question. A 4× or 10× objective helps survey a flask quickly. A 20× objective shows cell shape and distribution with useful detail. Higher magnification is not automatically better. It narrows the field and may hide uneven growth. Numerical aperture affects resolution, while working distance affects access to dishes, plates, and thicker vessels. Check whether the objectives remain parfocal during routine changes. Small focus shifts can become surprisingly tiring.
Environmental control protects both the sample and the observation. Look for stable temperature, carbon dioxide regulation, and humidity management when cells remain on the stage. Even a brief temperature change can alter cell movement and morphology. A heated stage may reduce this problem, but calibration still matters. Vibration control is easy to overlook. A nearby centrifuge can turn fine images into trembling outlines. I once prioritized magnification over incubation stability; that choice produced attractive images but weaker experimental consistency. Keep it practical. Calibration records, contamination checks, and repeatable settings support trustworthy results.
How to Choose a Cell Culture Microscope?
Representative dry-objective values show how magnification affects numerical aperture (NA), which influences resolution and light-gathering ability. Lower magnifications provide a wider field of view for locating cells, while 20×–40× objectives are useful for examining morphology and subcellular detail. For live-cell work, also confirm compatibility with environmental control systems that maintain approximately 37 °C, 5% CO₂, and high humidity, while minimizing vibration, evaporation, and phototoxicity.
Assess Imaging Workflow, Data Handling, and Laboratory Compatibility
Choosing a cell culture microscope starts with the workflow, not magnification. Map each step: seeding, confluence checks, live imaging, endpoint measurement, and review. For routine cultures, rapid phase contrast may matter more than maximum resolution. Time-lapse work needs stable focus, gentle illumination, and controlled temperature and gas conditions. If several plates are screened daily, plate loading and autofocus can determine real throughput. A beautiful image is not always useful.
Data handling deserves equal attention. Ask how images are named, exported, backed up, and linked to sample metadata. The NIH 2023 Data Management and Sharing Policy expects investigators to plan storage, documentation, and responsible sharing. Use common formats when possible. Preserve original files. Record exposure, magnification, passage number, and analysis version. A 2016 Nature survey of 1,576 researchers reported that 70% had failed to reproduce another scientist’s results. Consistent metadata cannot remove biological variation, but it exposes avoidable errors. I would not rely on screenshots.
Tips: Test the microscope with your actual vessel, cell line, media, and incubator setup. Check clearance, vibration, network access, user permissions, and local service response. Confirm that exports work with your analysis software and laboratory information system. Let a technician run a full mock experiment. This often reveals awkward handoffs. Compatibility is practical, not glamorous. Budgeting only for hardware is an easy mistake. Maybe a flawed assumption.
Balance Purchase Cost, Maintenance, and Future Expansion
How to Choose a Cell Culture Microscope?
Balance Purchase Cost, Maintenance, and Future Expansion
A cell culture microscope should fit your workflow, not just your current budget. Start by listing daily tasks, including confluence checks, contamination screening, and image documentation. A basic inverted optical system may meet routine needs. However, poor ergonomics can increase fatigue during repeated observations. My first cost estimate was wrong because I ignored accessories, training, and installation time.
Maintenance costs often appear after purchase. Check how easily staff can clean external surfaces and replace lamps, cameras, or filters. Sealed optical paths can reduce dust problems in busy laboratories. Ask for documented service intervals and realistic repair response times. Keep spare consumables available. Downtime is expensive. A microscope that saves money initially may create delays later.
Plan for expansion before approving the purchase. You may add fluorescence imaging, automated stage control, environmental monitoring, or higher-resolution cameras. Confirm that the frame, software, and illumination system can support these upgrades. Review file formats and data storage requirements with your imaging staff. Compatibility claims deserve careful verification. Request written specifications, not only sales demonstrations.
A practical evaluation includes a live trial with your own culture vessels. Observe focusing speed, sample access, vibration, and image consistency. Let several users test it. Their feedback may challenge your assumptions. Also compare the total five-year cost, including service, accessories, training, and replacement parts. A less expensive instrument can be reasonable, but only when its limitations match your laboratory’s actual work.



 08045479132


 Send Inquiry

 Send Inquiry
 Send SMS