| Connector purpose | An EMT connector secures the end of electrical metallic tubing (EMT) to an electrical box, enclosure, or fitting. | Choose a connector compatible with the EMT trade size and the enclosure entry. |
| Meaning of “waterproof” | “Waterproof” is often used informally. A fitting described as rain-tight or listed for wet locations is designed to limit water entry when installed as specified. | Verify the fitting’s markings and instructions for the intended location. A connector alone does not make the entire conduit system waterproof. |
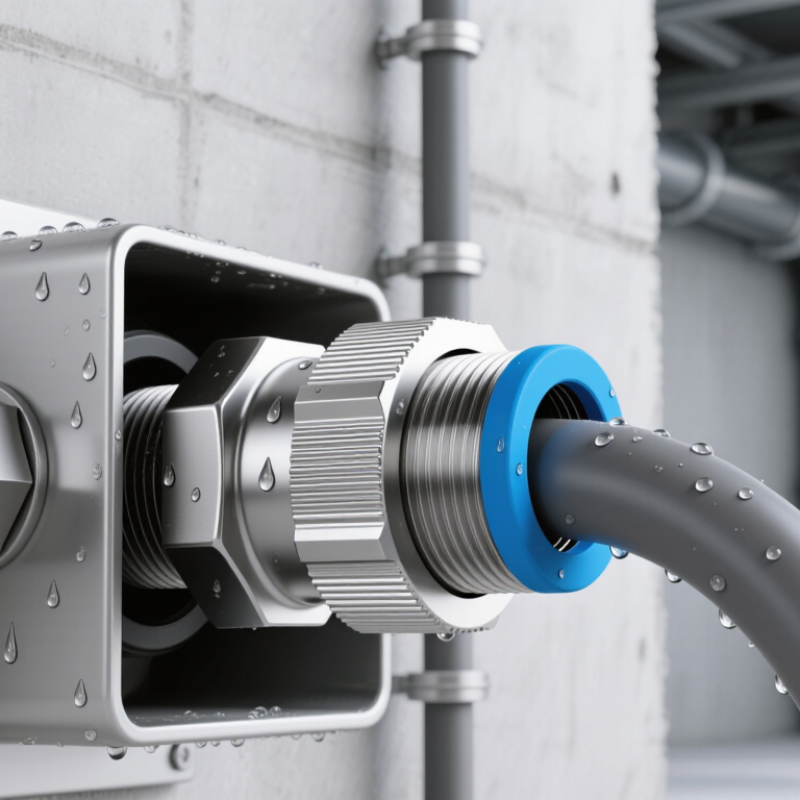
| How the seal works | Depending on its design, a wet-location EMT connector may use a sealing ring, gasket, or other listed sealing feature at the enclosure connection. | Seat the seal evenly and tighten the connector as directed. Do not omit, damage, or substitute sealing parts. |
| 1. Make the circuit safe | Electrical work can cause shock or injury if conductors are energized. | Switch off the relevant circuit, prevent accidental re-energizing, and verify absence of voltage with a suitable tester before work begins. |
| 2. Select compatible parts | EMT and fittings are available in trade sizes; the connector must match the conduit and enclosure opening. | Confirm the size, material compatibility, wet-location suitability, and enclosure rating required for the installation. |
| 3. Cut and prepare EMT | A clean, square cut helps the conduit seat properly and protects conductors from sharp edges. | Cut the EMT to length, then remove internal and external burrs. Keep metal filings out of the enclosure. |
| 4. Attach the connector to the enclosure | The connector’s threaded end or locknut arrangement attaches it to a compatible box or enclosure entry. | Install the gasket or sealing washer in the specified position, if supplied, and tighten the locknut or other attachment as instructed. |
| 5. Insert and secure the EMT | The conduit enters the connector and is held by its compression mechanism or set screw, depending on connector type. | Insert the EMT fully to the connector’s stop or specified depth, align it, and tighten the clamp or set screw according to the product instructions. |
| 6. Check support and continuity | EMT and its fittings are part of a wiring method that must be properly supported and maintain required electrical continuity. | Check that the conduit is secure, fittings are tight, and the installation complies with applicable electrical rules and local inspection requirements. |
| 7. Inspect the finished connection | A correctly assembled connector should have no visibly displaced seal, loose conduit, or exposed sharp edge. | Check the enclosure cover and all other entries and joints too; the protection level depends on the complete installation, not just one connector. |
| Important note | Use fittings only within their listing and follow the manufacturer’s installation instructions, the applicable electrical code, and local requirements. Consult a qualified electrician when unsure. |



 08045479132

 Send Inquiry


 Send Inquiry
 Send SMS