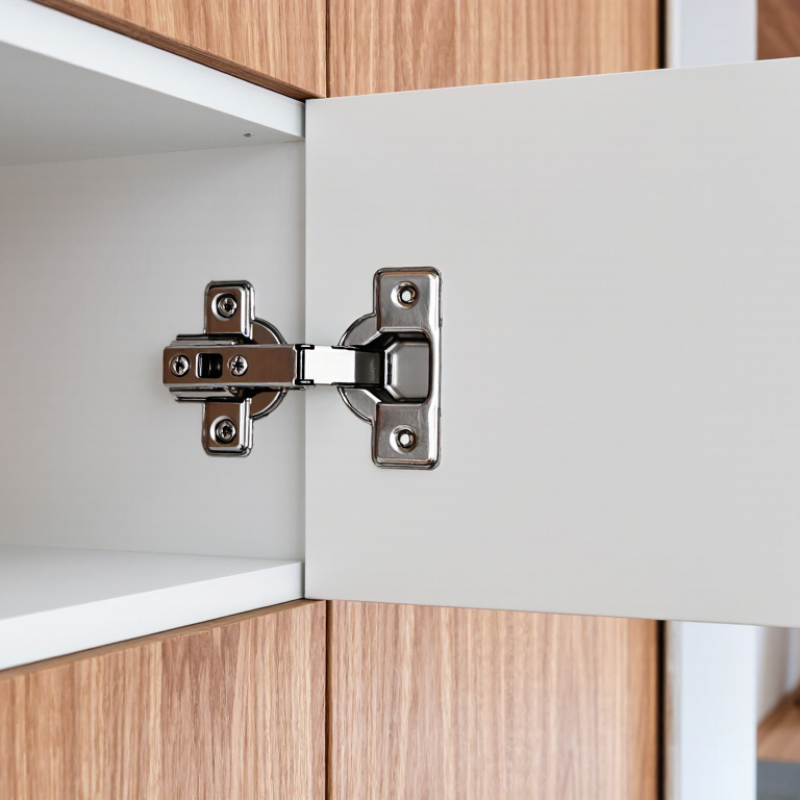
| Hinge definition | A concealed hinge is fitted into recesses or mounting hardware so the hinge is largely hidden when the door is closed. A “180°” model is specified for a nominal opening travel of up to 180 degrees, subject to its installation and surrounding geometry. | Check the product drawing and installation instructions. Confirm that “180°” describes the door’s opening travel, not simply a marketing label or an unobstructed clearance guarantee. | Choose a model whose stated function matches the required door movement and installation type. |
| Opening-angle datum | The angle is measured between reference surfaces or lines, but manufacturers may define those references differently. | Find the angle diagram and identify the closed-position reference, the fully open position, and any stated measurement convention. | Do not compare angle figures from different hinges until their reference points and installation conditions are clear. |
| Nominal versus usable angle | A nominal 180° specification describes the hinge’s stated capability. A cabinet side, adjacent wall, handle, or neighboring door can stop the installed door earlier. | Compare the hinge’s stated opening-angle conditions with the actual cabinet layout, door thickness, and nearby obstructions. | If the door must lie fully clear of an opening, verify that the complete assembly provides that clearance—not just the nominal angle. |
| Door and cabinet geometry | Overlay, inset, frame or frameless construction, door thickness, and hinge-cup or recess dimensions affect fit and movement. | Measure the door and cabinet; check the specified mounting style, drilling pattern, recess depth, and required edge distances against the installation drawing. | Reject a hinge if its mounting geometry or permitted door dimensions do not match the project. |
| Clearance and interference | The hinge’s path must avoid the cabinet, adjacent doors, handles, walls, and other hardware throughout the swing. | Review the manufacturer’s clearance drawing or test a correctly mounted sample. Move the door slowly from closed to fully open and check for contact. | Confirm clearance at both the hinge side and the far edge of the door. |
| Load and hinge quantity | Supported door weight and size depend on the hinge design, mounting, door construction, and number and spacing of hinges. | Use the manufacturer’s load guidance for the exact hinge and installation. Include the complete door and attached hardware in the weight estimate. | Do not assume that adding hinges increases capacity in a simple proportional way; follow the specified layout and limits. |
| Adjustment and stop function | Some hinges allow door-position adjustment, while opening stops or soft-close features may affect the final movement. | Check which adjustments and accessories are included, and whether an optional stop limits the opening angle. | Make sure the required opening angle is compatible with any stop, damper, or other selected accessory. |
| On-site angle test | A physical test confirms the installed hinge’s actual movement under the project’s geometry and mounting conditions. | Install the hinge as instructed, mark the closed reference, open the door to its natural stop, and measure the angle with a protractor or angle gauge using the drawing’s reference surfaces. | Record the measured angle and check for binding, contact, loose fasteners, or abnormal movement before final installation. |



 08045479132

 Send Inquiry


 Send Inquiry
 Send SMS