| Door Opening Measurements | Measure the rough opening, not only the existing slab. | Record width at the top, middle, and bottom; height at both sides and the center; and the wall thickness. The smallest width and height measurements help identify fitting limitations. | Take measurements in at least three locations. |
| Door Slab Size | Confirm the replacement slab dimensions and handing. | Common residential entry-door slab widths include approximately 30, 32, and 36 inches, while 80 inches is a common height. Actual availability varies, so verify the selected door before ordering. | Match width, height, swing, and hinge side. |
| Sill and Threshold | Inspect the threshold height, slope, and drainage path. | A properly supported, weather-resistant sill helps limit water entry. Check that the threshold will not create a trip hazard or interfere with flooring and accessibility requirements. | Confirm sill details with the installer. |
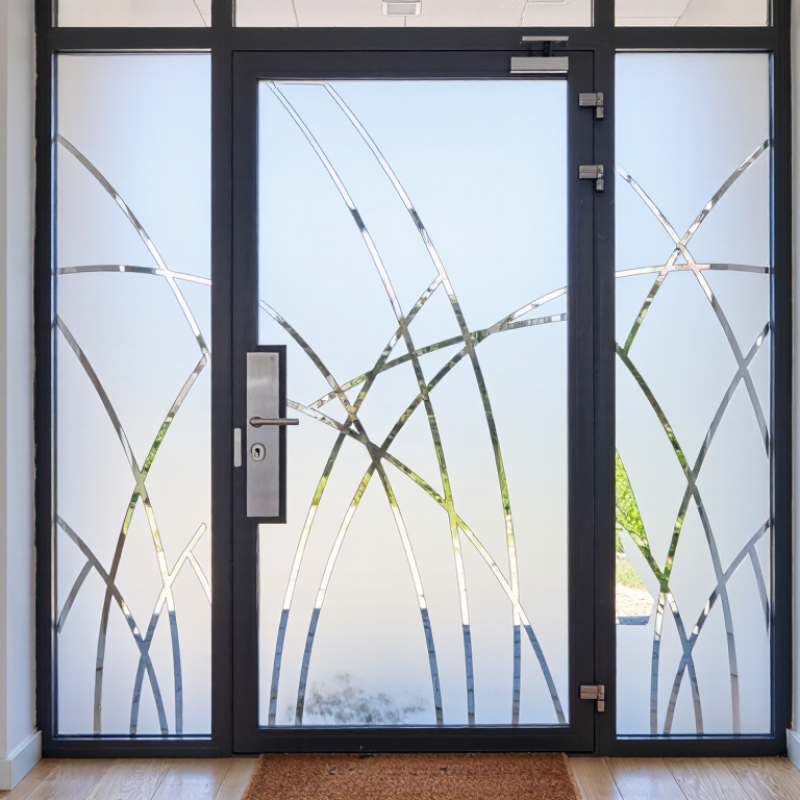
| Glass Privacy Level | Choose the appropriate degree of obscurity. | Lightly textured or satin-finished glass generally admits more light and provides less privacy than heavily textured or opaque glass. View samples in daylight before selecting. | Compare samples from both sides. |
| Glass Safety | Verify that the glazing is suitable for a door. | Door glazing should use safety glass, typically tempered or laminated glass, in accordance with applicable local building requirements. Safety glass is designed to reduce injury risk if broken. | Request compliance documentation. |
| Energy Performance | Review glass, frame, and weather-seal performance together. | Look for published thermal-performance information such as U-factor and air-leakage data where available. Lower U-factor generally indicates better insulation, but the complete door assembly also matters. | Compare complete-unit specifications. |
| Installation Condition | Assess the frame, surrounding wall, and subfloor. | Rot, moisture damage, uneven openings, or structural movement may require repair before installation. A new door cannot compensate for a damaged or poorly aligned opening. | Inspect before final pricing. |
| Hardware Compatibility | Confirm lock, handle, hinge, and closer requirements. | Check bore locations, backset, hinge spacing, handing, and clearance for the chosen hardware. Smart locks and multipoint systems may require specific door preparation. | Provide hardware details early. |
| Weather Protection | Consider exposure to rain, wind, and direct sunlight. | Exterior doors need continuous perimeter weatherstripping, a correctly sealed frame, and suitable overhang or drainage conditions. High-exposure openings may need enhanced weather-resistant installation. | Review site exposure and flashing. |
| Cleaning Routine | Use products compatible with frosted glass and finishes. | Remove dust with a soft cloth, then clean with mild soap and water or a non-abrasive glass cleaner. Avoid scouring pads, abrasive powders, harsh solvents, and scraping tools that can damage the surface. | Clean as needed with soft materials. |
| Seal and Hardware Maintenance | Inspect seals, hinges, locks, and the threshold. | Check weatherstripping for compression or cracking, keep drainage channels clear, tighten loose hardware, and lubricate compatible moving parts according to the hardware instructions. | Inspect at least twice a year. |
| Long-Term Service Plan | Plan for replacement parts and periodic adjustments. | Keep installation records, glass specifications, hardware information, and care instructions. Address drafts, water intrusion, sticking, or cracked seals promptly to prevent larger repairs. | Maintain records and schedule checks. |



 08045479132
 Send Inquiry

 Send Inquiry
 Send SMS