Change Language
Call Us08045479132

What Are the 7 Best Portable Microscopes to Buy?

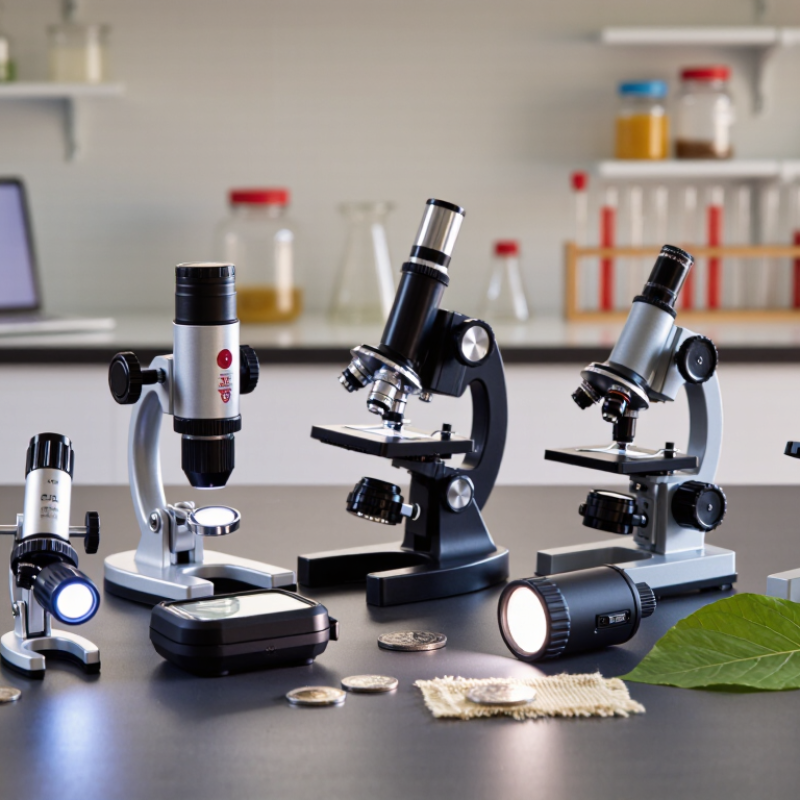
Choosing a Portable Microscope is less about chasing the biggest magnification number and more about finding a tool you can use steadily. A pocket-sized model may suit leaf veins, fabric fibers, or the worn edge of a coin. Classroom samples may call for a stable stand and dependable lighting. Numbers matter, but so does focus control. A high zoom claim is not helpful if the image looks dim, shakes easily, or is hard to center. This guide compares seven portable microscopes by practical features, including magnification, illumination, focusing method, build quality, portability, and phone or computer compatibility. Check the stated working distance, too, and confirm which accessories come in the box. Small details change the experience.

The best fit depends on where and how you plan to use it. A hiker may value a light body and quick setup; a student may prefer simple controls and a steady base. If you want to save images, connection type and software support deserve a careful look. They can vary between devices. The selections are intended to help readers compare options, not to suggest that one model suits every task. Specifications can also be presented differently by manufacturers, so verify them before buying. And magnification alone can mislead. A clear, well-lit image is often more useful than a larger number on the package. That sounds obvious. It is easy to overlook.

What Are the 7 Best Portable Microscopes to Buy?

What Defines a Portable Microscope and How Does It Work?

A portable microscope is a compact instrument designed for inspection away from a laboratory bench. It may fit in a coat pocket or small case, run on rechargeable power, and include a screen or connect to a phone. Portability is more than size: controls should be usable in the field, and the device should tolerate being carried between locations. A bright built-in light helps when examining a leaf, fabric, or tiny mineral grain outdoors.

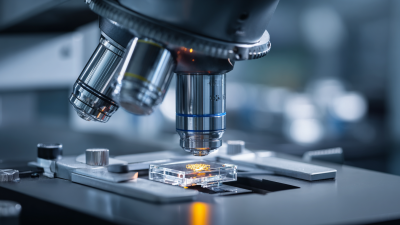
Most portable models use either optical lenses, a digital camera sensor, or a combination of both. In an optical microscope, light passes through or reflects from a specimen, and lenses enlarge the image for viewing. A digital model captures the image with a sensor and displays it on a screen. Focus is usually adjusted with a small wheel or by moving the device closer to the sample. Keep the sample steady. It matters.

Magnification numbers can be misleading because a larger image is not always a clearer one. Resolution, lighting, focus, and working distance all affect visible detail. For example, a printed mark may look huge on-screen but remain blurry at its edges. There is a trade-off, and it is easy to overlook: compact bodies can mean smaller controls or limited focus range. Consider what you need to inspect, how you will power the microscope, and whether you need to save images.

Which Features Matter When Choosing a Portable Microscope?

Choosing a portable microscope starts with the specimen, not the largest magnification printed on the box. A 40×–100× range can suit leaves, fibers, and insect parts, while tiny cells often require higher magnification and careful slide preparation. More power is not automatically more detail. Check whether the stated figure is optical magnification or includes digital enlargement; digital zoom can enlarge pixels without revealing finer structures. Look for glass optics, smooth coarse and fine focus, and a stable stage that keeps samples from drifting. Try turning the focus knob slowly. It should feel controlled, not loose.

Lighting deserves equal attention. Adjustable LEDs can help reveal clear pond water, pale plant tissue, or opaque grains, but a dimmer is useful only if brightness changes smoothly. Compare the field of view and working distance: a wider view helps scanning, while extra space beneath the lens makes larger objects easier to inspect. For outdoor use, weigh battery life, charging method, and protection from dust or splashes; a compact body is little help if its controls are awkward with cold fingers. Bring a sample or image when possible. Test it. Camera features can aid documentation, yet a screen may add weight and drain power. Advertised specifications deserve a second look, since lighting, focus stability, and sample preparation can matter more than a dramatic zoom number.

What Are the 7 Best Portable Microscopes to Buy? — A Practical Comparison
Portable Microscope Type Typical Magnification Power and Viewing Portability Best For Main Trade-Off Features to Prioritize
1. Pocket monocular microscope About 20×–60×; some models offer higher settings Direct eyepiece viewing; usually built-in LED illumination and battery power Very high; small enough for a pocket or field kit Leaves, insects, fabric, minerals, and quick outdoor inspections Small viewing area and limited detail at the highest magnification Comfortable focus wheel, adjustable light, sturdy housing, and a clearly stated optical magnification
2. Handheld digital microscope Commonly advertised around 10×–200×; useful detail depends on optics, sensor, and working distance Camera image displayed on a connected computer, tablet, or phone; often LED-lit High; the handheld unit is compact, but a host device may be needed Coins, circuit boards, labels, plant surfaces, and image capture Digital enlargement can make the image look bigger without revealing more detail Image resolution, adjustable illumination, focus range, stable stand, and compatibility with the intended device
3. Portable microscope with built-in screen Often offers several digital zoom settings; optical detail varies by design Live view on an integrated LCD; rechargeable battery is common High; no separate computer is required for basic viewing Field inspections, demonstrations, and users who want a self-contained display Screen size and battery capacity can limit extended use; digital zoom is not optical resolution Screen brightness, battery life, image storage, simple controls, and a secure focus stand
4. Portable compound microscope Typically 40×–400× with common school-style objective and eyepiece combinations Eyepiece viewing; transmitted LED light illuminates thin samples from below Moderate; compact versions are available, but they are bulkier than pocket scopes Prepared slides, cells, thin plant sections, and classroom biology Needs thin, transparent samples and careful focusing; less suitable for whole objects Achromatic objectives, a mechanical stage, coarse and fine focus, and rechargeable or replaceable power
5. Portable stereo microscope Usually about 10×–40× Binocular viewing creates a three-dimensional view; reflected light illuminates solid objects Moderate to low; generally larger and heavier than handheld options Insects, rocks, small mechanical parts, and hands-on repair work Lower magnification than a compound microscope and less convenient to carry Working distance, comfortable binocular head, stable base, and adjustable top illumination
6. Smartphone clip-on microscope lens Varies widely; practical magnification depends on the lens and the phone camera Uses the phone camera and screen; some attachments include a small LED Very high; lightweight and easy to pack Casual field photography, educational activities, and quick close-up images Alignment can be fiddly, and phone-camera compatibility may affect image quality Secure phone attachment, lens clarity, working distance, light control, and compatibility with the phone case
7. USB microscope for inspection work Often marketed with broad digital magnification ranges; usable magnification depends on display size and optics Connects to a computer or compatible mobile device; commonly powered through USB High as a camera unit, but it depends on a connected host and often benefits from a stand Electronics, solder joints, surface defects, and documented close-up inspection Not usually a stand-alone instrument; hand-held movement can make high-zoom images shaky Operating-system support, cable length, adjustable LEDs, stable stand, and the ability to save images

Choosing tip: Compare optical resolution, working distance, illumination, focus control, power source, and device compatibility—not magnification alone. Advertised magnification figures are not directly comparable across eyepiece, digital, and phone-camera microscopes. Specifications vary by product; check the maker’s documentation before buying.

What Are the 7 Best Portable Microscopes to Buy?

The seven best portable microscopes depend on what you need to inspect. For quick field checks, a pocket optical microscope is light and needs no battery. A smartphone clip-on is handy for sharing images, though alignment can be fiddly. A handheld digital microscope adds adjustable lighting and a screen or phone connection. A USB microscope suits desk work, but its cable limits movement. A compact stereo microscope gives insects and minerals a more natural three-dimensional view. A portable compound microscope is better for thin slides and finer detail. An LCD-screen digital model is easiest for group viewing, but may sacrifice portability.

Compare usable magnification, not just the largest number printed on the box. Check working distance, light control, image storage, battery life, and whether slides or a stand are included. Grand View Research estimated the global microscopy market at USD 7.11 billion in 2023 and forecast 6.4% annual growth from 2024 to 2030; that figure covers microscopy broadly, not portable models alone. Treat it as market context, not proof that a particular device performs well. For outdoor use, a stable stand and replaceable power source may matter more than extra magnification. Keep it steady. I would still test the controls before buying; small focus wheels can feel precise in a shop, then awkward in the field.

How Do the Top Models Compare for Different Uses?

The best choice depends on what you need to inspect, not the largest magnification printed on the box. A pocket LED microscope, often offering roughly 60x to 120x, suits leaves, fabric, and insect wings. Its built-in light helps outdoors, though the narrow viewing area can make focusing fiddly. A phone-clip microscope is lighter and saves images easily. It works well for quick comparisons, but alignment can shift when the phone moves. A low-power handheld model, around 20x to 40x, is easier for children to use on coins or plant stems. Less detail, more stability.

For classroom slides, a compact biological microscope with adjustable illumination and several objective lenses is more useful. Check whether it includes prepared slides and a stable base; high magnification alone does not guarantee a clear image. A digital microscope with its own screen helps groups share a view, while a USB model can suit desk work and image capture. Both may depend on batteries, cables, or compatible devices. Small inconvenience, real difference. A portable stereo microscope, commonly around 10x to 40x, shows three-dimensional surfaces such as seeds or tiny mechanical parts. It is not the right tool for viewing individual cells.

A seventh option is a foldable field microscope designed for simple slide work. It packs neatly, but dim lighting and coarse focusing may frustrate beginners. Compare working distance, focus control, lighting, and image stability alongside magnification. Specifications can be optimistic; a sharp view at modest power is often more useful than a blurry, enlarged one. For outdoor use, test whether the instrument stays steady on uneven ground.

How Can You Use and Care for a Portable Microscope?

How Can You Use and Care for a Portable Microscope?

Use a stable, bright surface, then secure the specimen so it cannot drift. Start at low magnification; center the detail before increasing power. Turn the focus slowly, since a small adjustment can move the subject out of view. For context, Abbe’s optical-resolution equation gives about 0.20 micrometers as a theoretical limit with 550-nanometer light and a 1.4 numerical-aperture objective. That benchmark comes from professional optical-microscopy theory; a portable instrument’s actual resolution is usually lower. Keep expectations realistic. A phone image can look sharp while hiding fine detail.

After use, switch off the light and remove the specimen. Clean glass surfaces with lens tissue, not a shirt sleeve; grit can scratch coatings. Keep the instrument dry, capped, and in a padded case, especially when moving between cold outdoors and a warm room. Let condensation clear before switching it on. ISO 15189:2022, a medical-laboratory quality standard, calls for equipment maintenance to be documented; a simple date-and-cleaning note is a useful habit outside laboratories, too. It is easy to rush storage. That is often when dust finds the lens.

Portable Microscope Magnification: Useful Settings and Care

Typical total magnifications for a compound microscope with a 10× eyepiece. Portable models vary, and greater magnification does not always reveal more detail.

How to use and care for one: Begin at low magnification, center and focus the specimen, then increase magnification as needed. Keep lenses clean with lens paper, carry the microscope securely, and store it dry with its dust cover on. The 1000× setting typically requires oil immersion and compatible optics.

Back to top